What Should You Expect When You Schedule a Solar Panel Installation?
Making the decision to switch to solar energy is a big step toward energy independence, long-term savings, and environmental responsibility. However, if you’re like many homeowners exploring this upgrade for the first time, you might be wondering what the process actually looks like. What happens after you say “yes” to solar? How long does it take, who’s involved, and what should you prepare for?
This guide walks you through what to expect when you schedule a solar panel installation—from your initial consultation to flipping the switch on your new energy system. Understanding the steps involved will help you feel more confident, prepared, and informed throughout the journey.
Initial Consultation and Site Assessment
Every solar panel installation begins with a comprehensive consultation and site assessment. This is where you and your solar installer will discuss your energy goals, review your utility bills, and evaluate whether your property is a good fit for solar power.
An expert will typically visit your home to assess roof orientation, angle, and condition. They'll also check for shading from trees or nearby buildings that could impact panel performance. The number of panels you’ll need depends on your average electricity usage, available roof space, and local sun exposure. This visit ensures your system is customized for maximum efficiency and return on investment.
If your roof is old or in poor condition, this is the time to consider making repairs or replacements before installing solar panels. Installing on a compromised roof could mean expensive panel removal and reinstallation down the road.
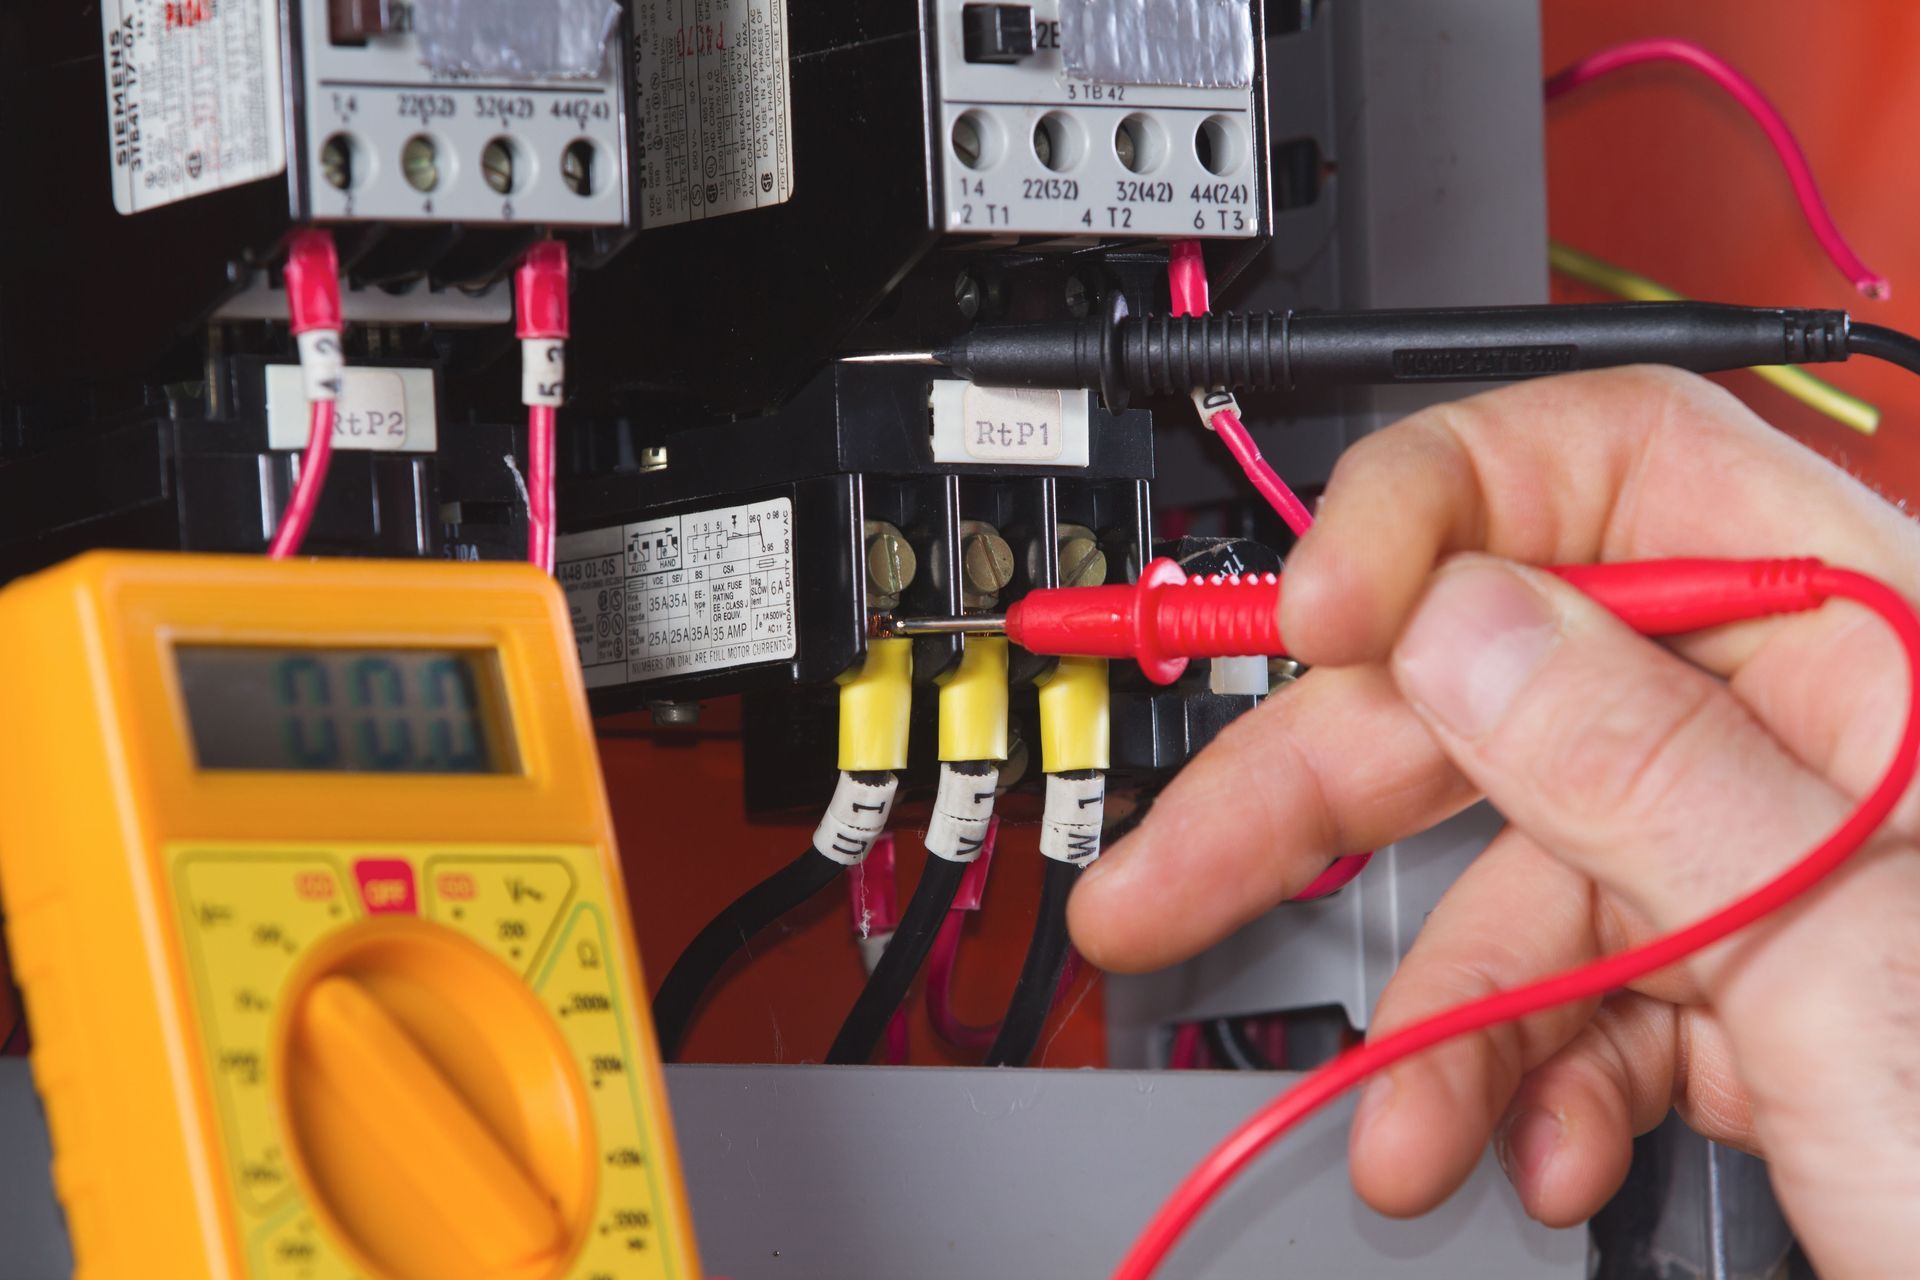
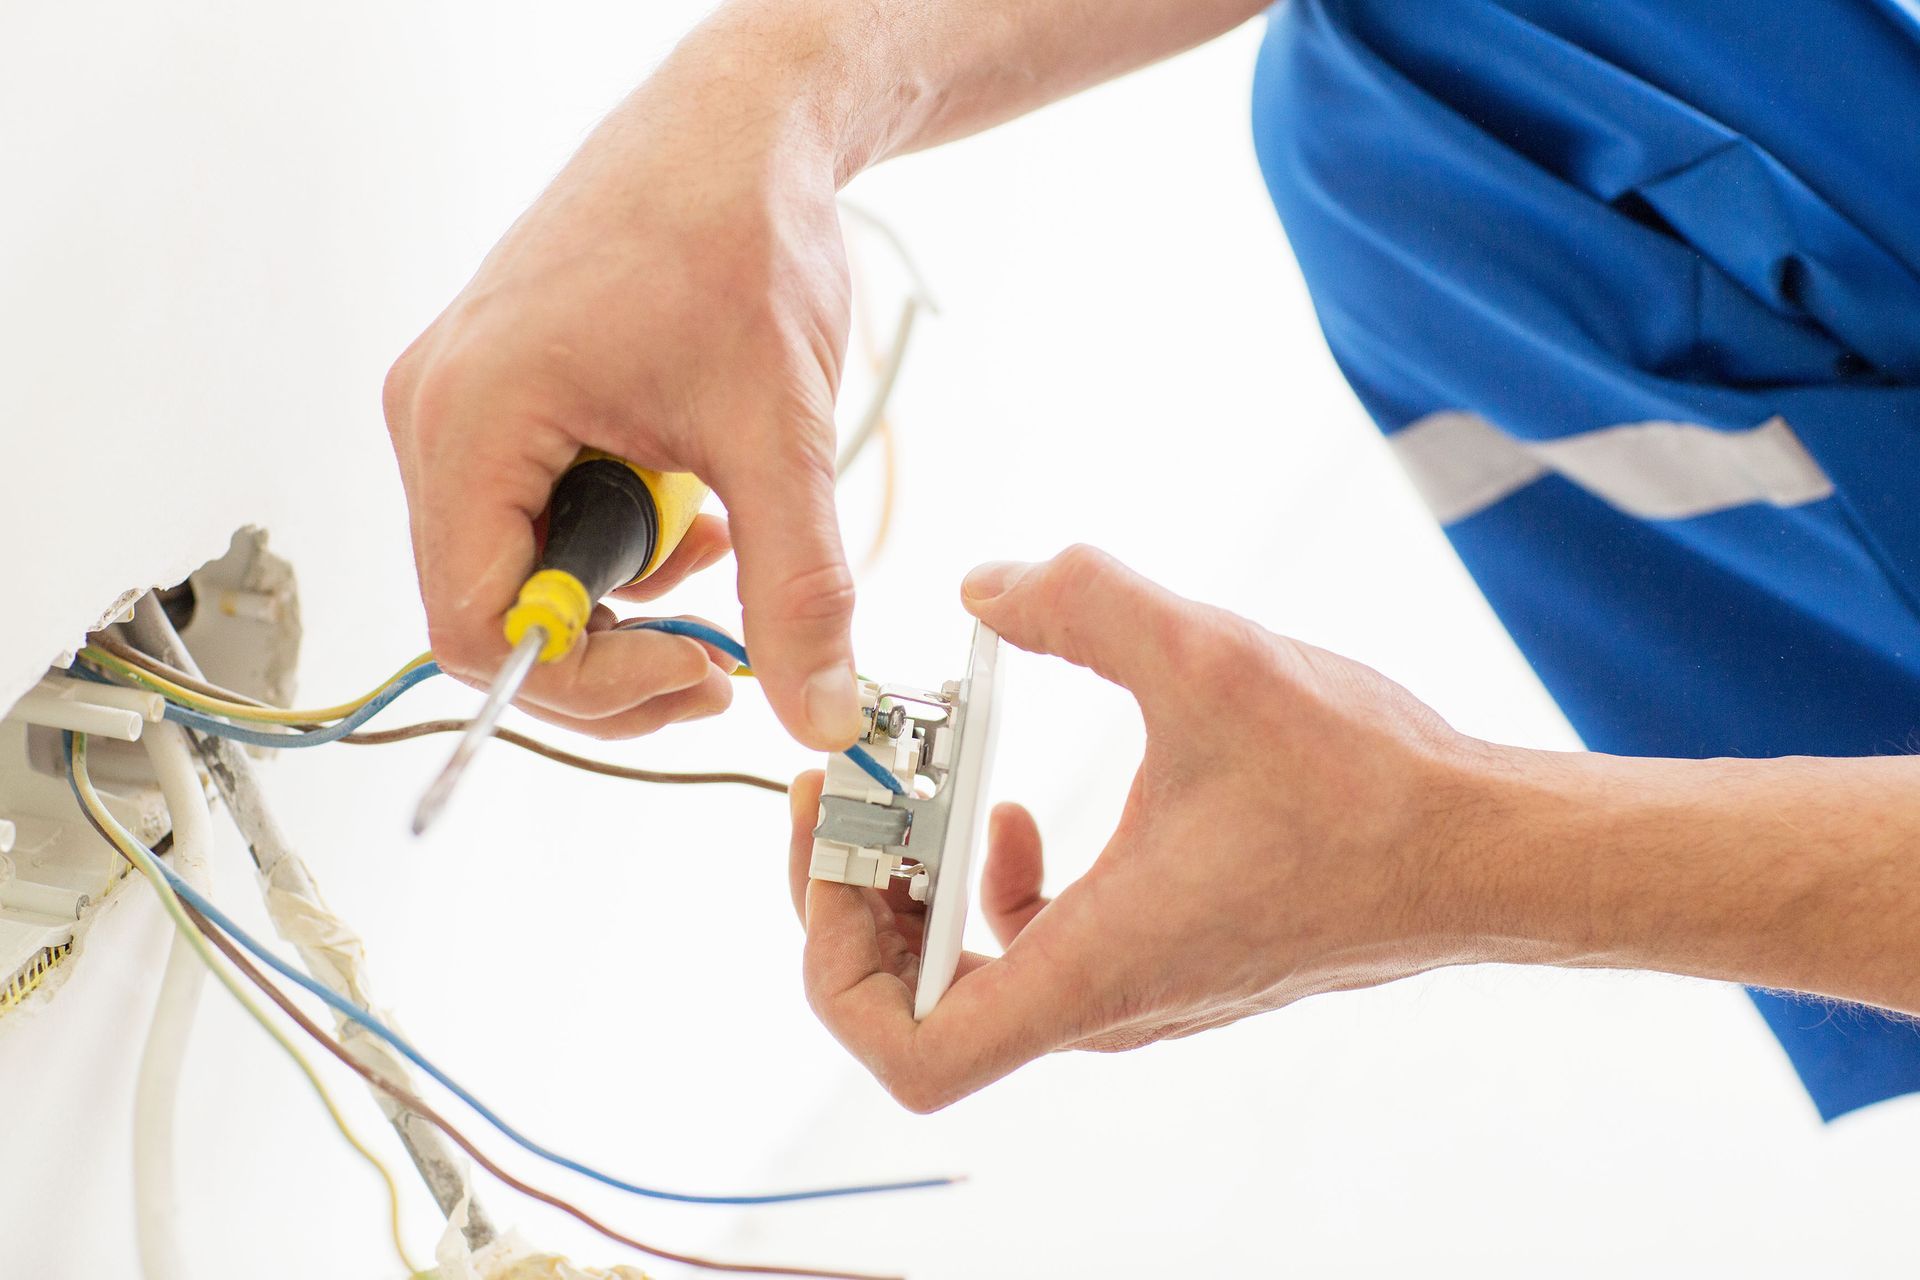
The site assessment also includes a review of your electrical system. The technician will confirm your home’s main electrical panel can support the addition of a solar energy system or if it will require an upgrade. This is important for ensuring safety and compliance with local electrical codes.
Permits, Paperwork, and Planning
After your system is designed and approved, the behind-the-scenes work begins—namely, permits and paperwork. This part of the process may not be the most exciting, but it’s absolutely essential for a successful solar panel installation.
Your installer will handle most of the paperwork for you, which is a major relief for homeowners. This includes applying for local building and electrical permits, submitting designs for approval, and working with your utility company to file interconnection applications (which allows your system to be tied into the electrical grid).
If you’re taking advantage of incentives like the federal solar tax credit or local rebates, this is also the time when those documents will be prepared. An experienced installer will guide you through the required documentation and let you know what to expect regarding tax season and filing deadlines.
Permitting can take anywhere from a couple of weeks to a few months, depending on your location. Cities and counties with streamlined solar policies will generally move faster, but in some areas, delays are common. Your installer should keep you informed and help manage expectations.
Installation Day: What to Expect
Once your permits are approved and your equipment arrives, it’s time for installation day—a milestone that brings you one step closer to solar energy. The actual process of installing solar panels is usually completed in 1 to 3 days, depending on the complexity and size of your system.
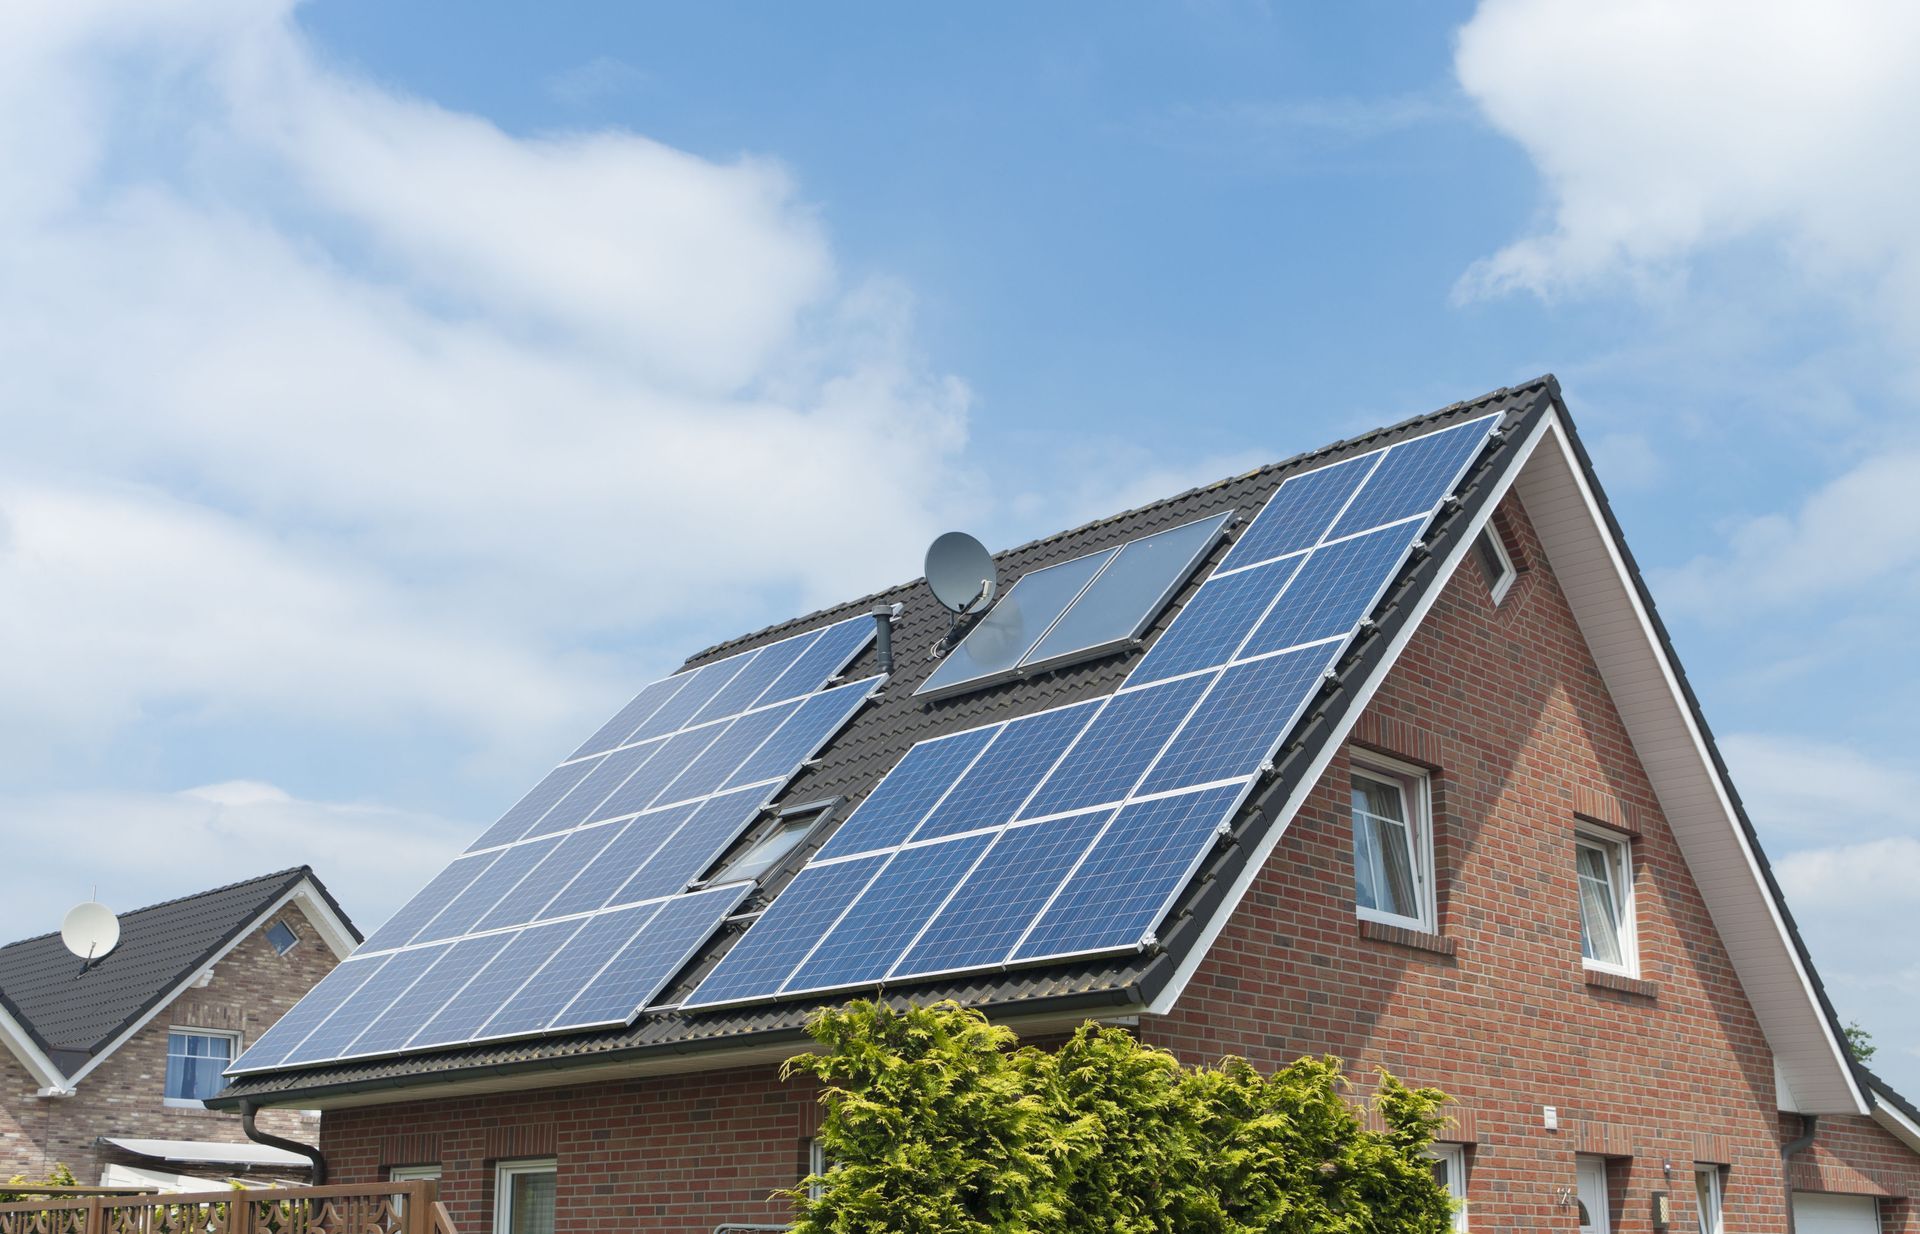
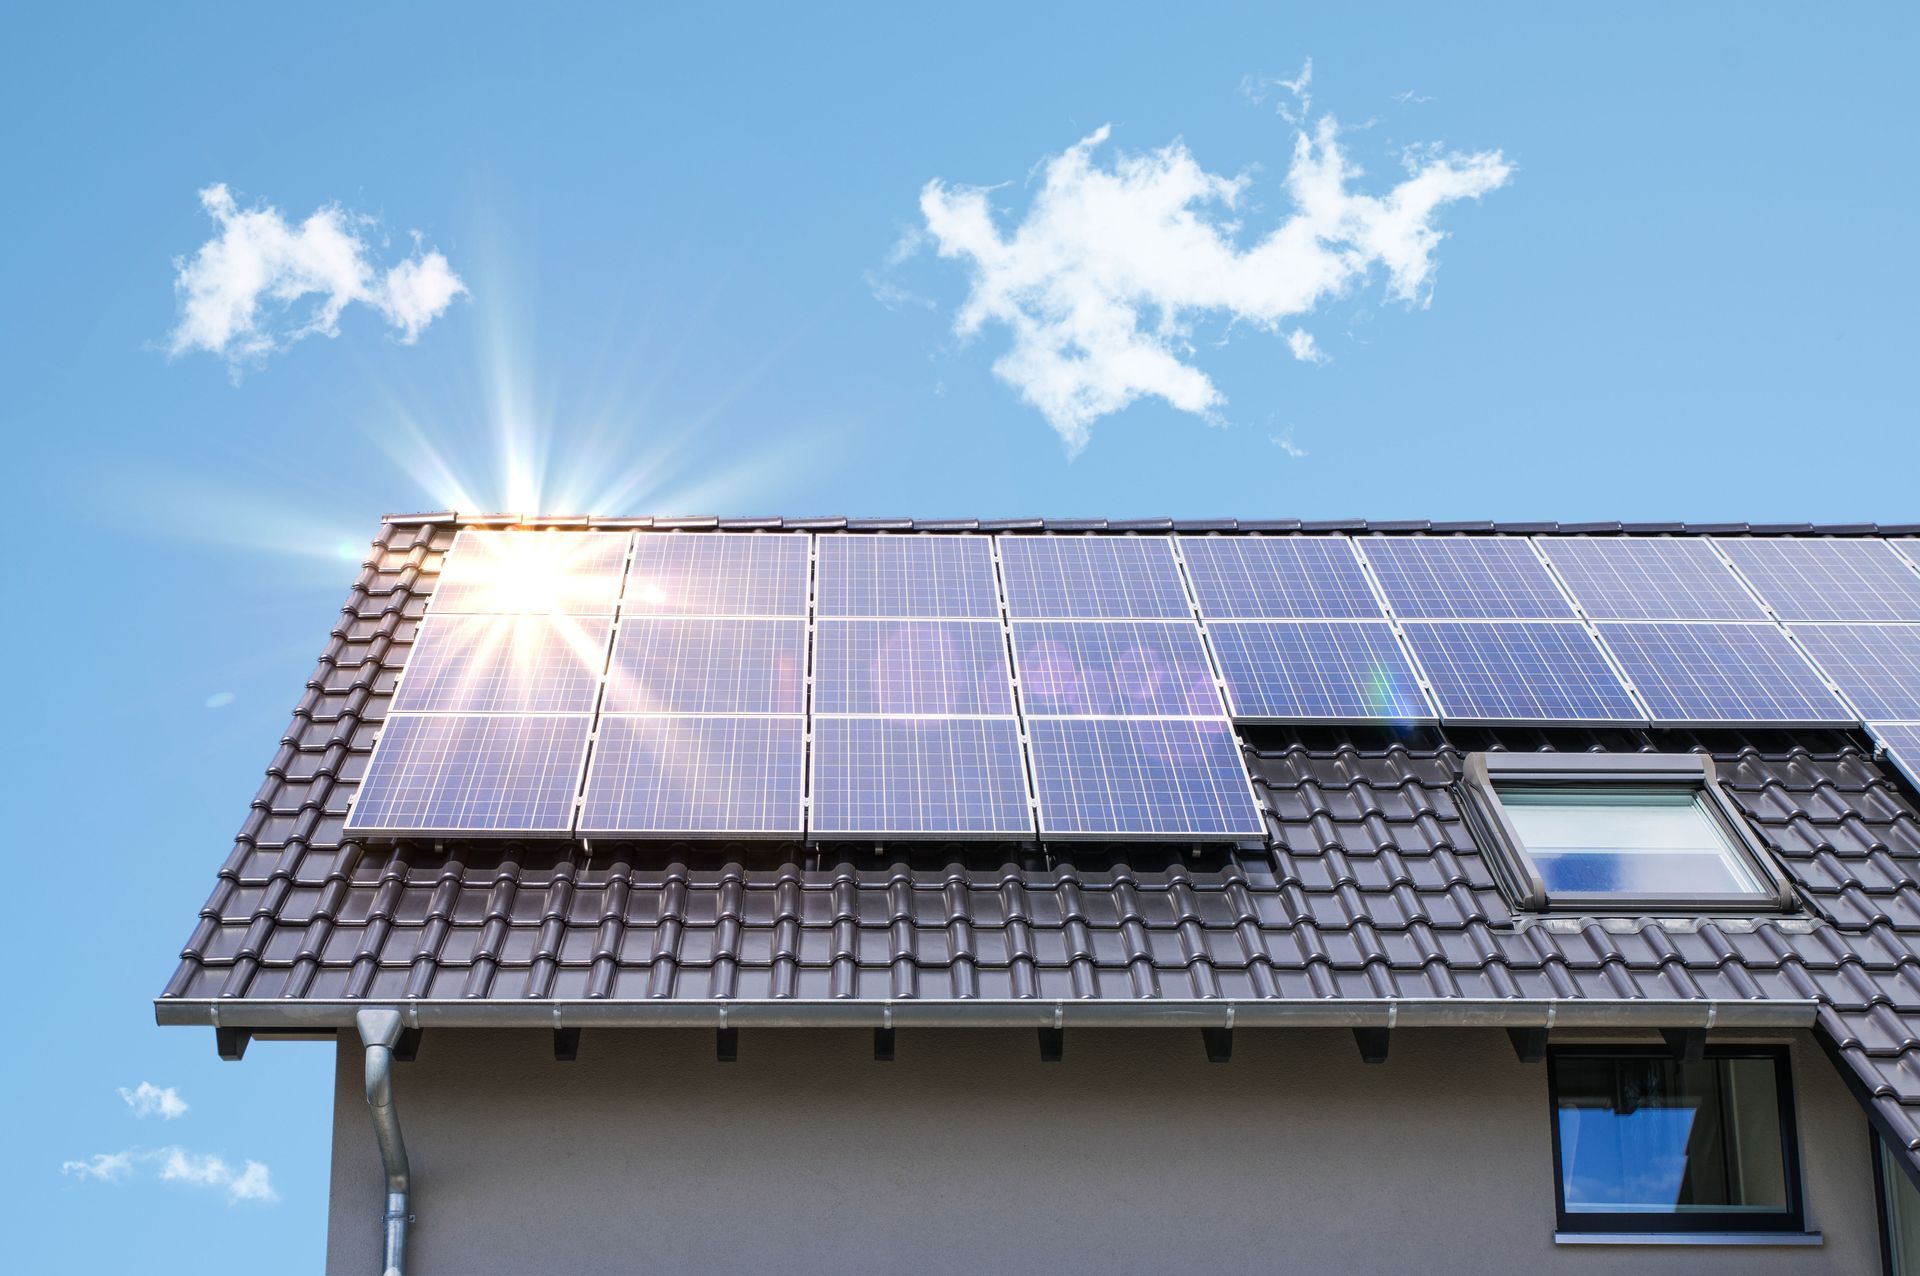
Your installation crew will begin by preparing your roof. This may involve installing mounting hardware (the racks that hold the panels in place), followed by securely attaching the solar panels themselves. Once mounted, the panels are wired together, and conduit is run to your home’s main electrical panel.
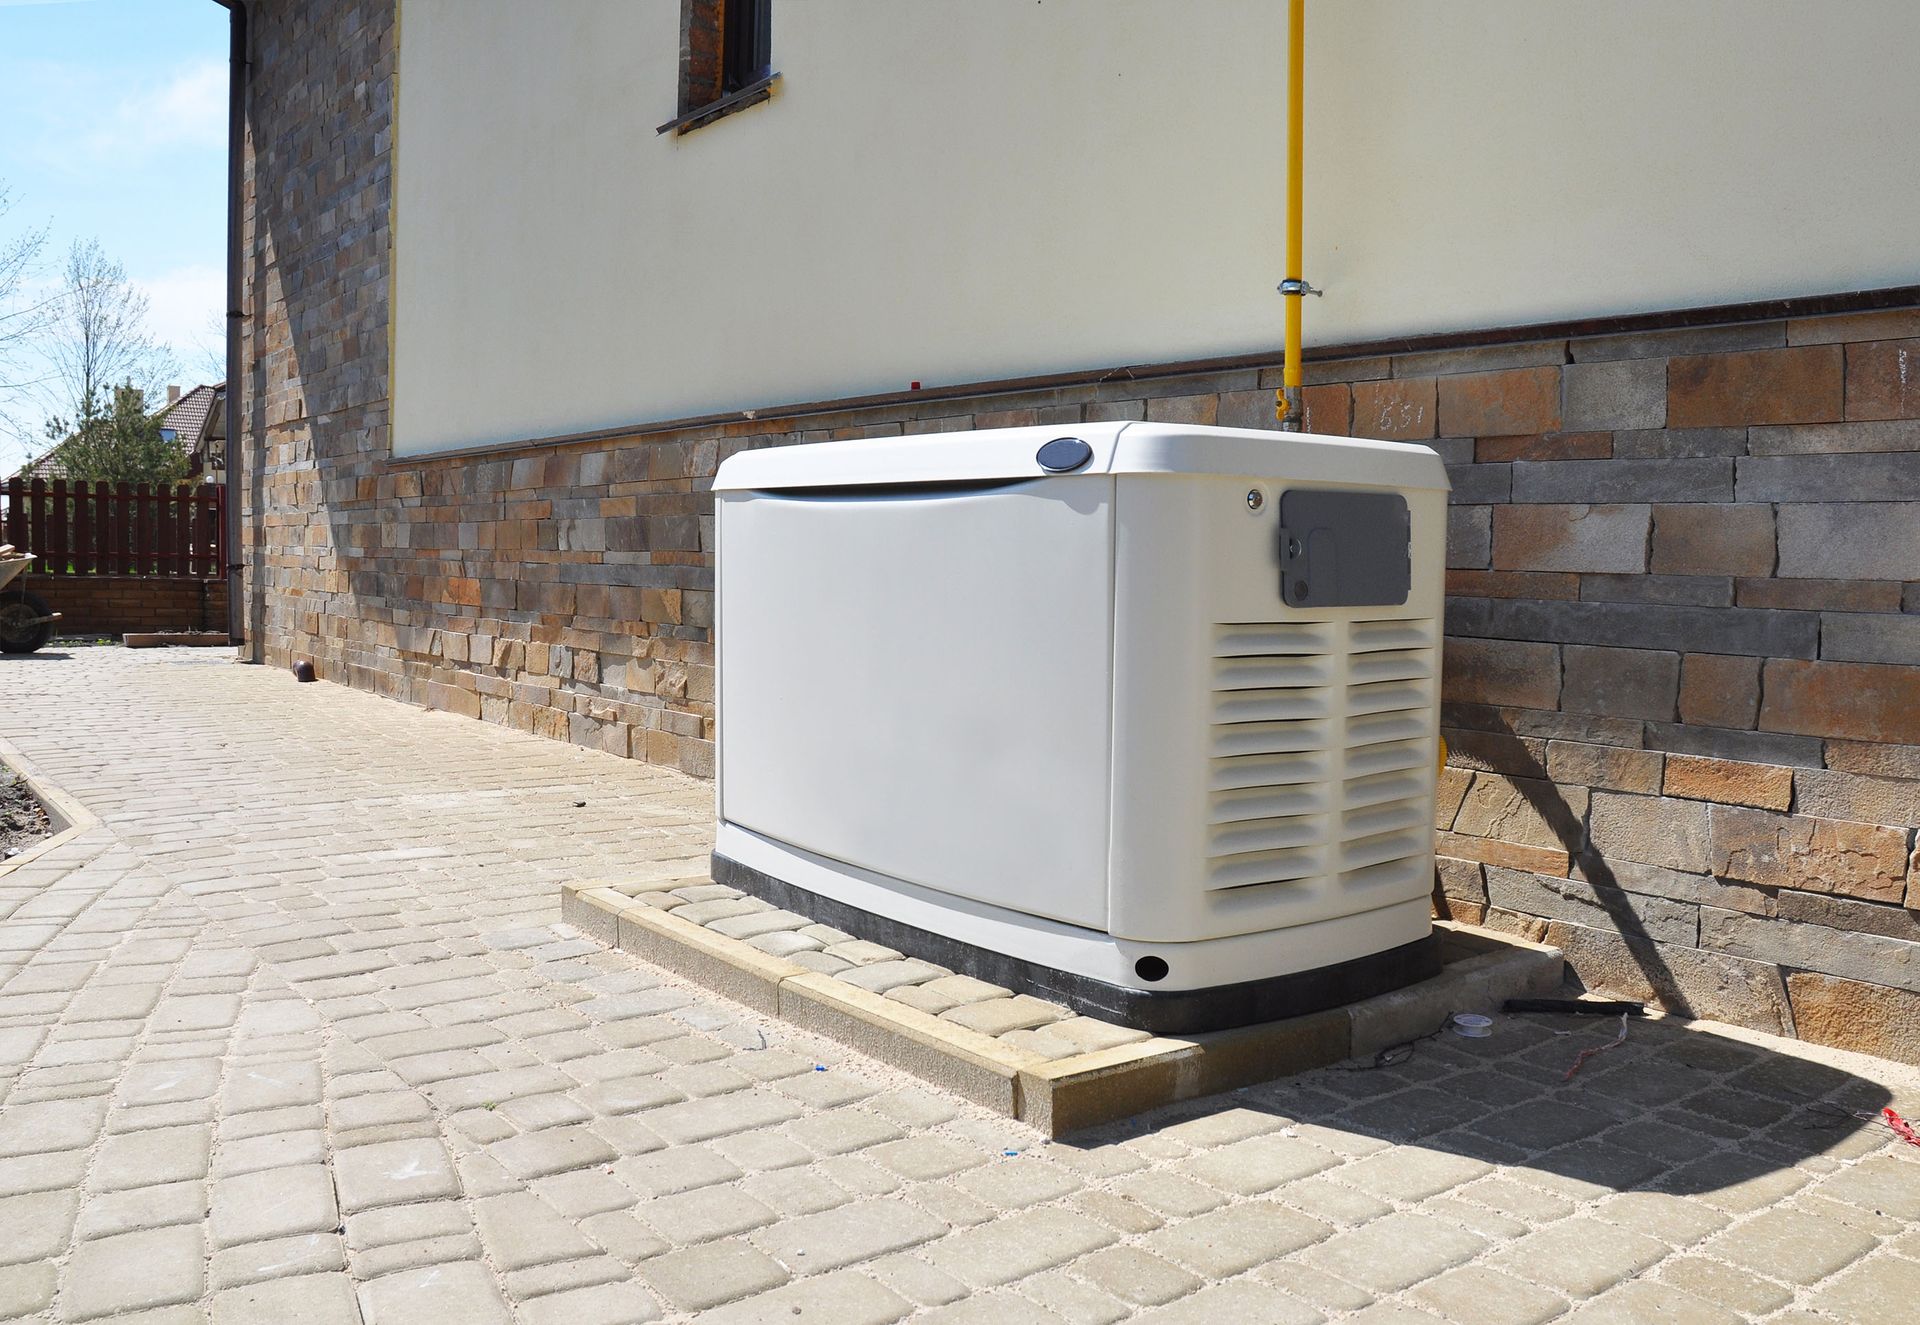
If your system includes battery storage, such as a Tesla Powerwall or similar unit, the battery will also be installed during this time—usually on a garage wall or another indoor location near your electrical service panel.
Installers will connect your inverter (which converts solar energy from DC to usable AC power), test all wiring, and ensure everything is safely configured. Throughout the process, the crew will be mindful of your property, working efficiently and cleaning up as they go.
Once installed, the system can’t be turned on immediately. You’ll need to pass final inspections before going live.
Final Inspections and Utility Approval
After your solar panel installation is complete, your system must be inspected and approved before it can begin generating power. This step ensures that your installation meets all safety, building, and electrical codes, as well as utility interconnection requirements.
The first inspection is typically conducted by a local building or electrical inspector. They’ll verify the workmanship, wiring, and safety measures in place. In some cases, they’ll also check structural attachments to ensure the panels are properly anchored to your roof.
After passing the local inspection, the utility company will conduct their own review. This might include a physical inspection or simply a review of documentation and photos submitted by your installer. The utility’s job is to confirm that your system is safe to be connected to the grid and that any net metering equipment is correctly installed.
Once your system passes all inspections, the utility company will issue a “Permission to Operate” (PTO) letter. This is the official green light that allows your system to go live. Your installer may walk you through how to monitor your system and what to expect in terms of performance tracking or app-based tools.
Long-Term Performance and Return on Investment
Once your system is up and running, it begins generating clean, renewable energy—and you start reaping the benefits. You’ll likely notice an immediate reduction in your monthly utility bills, and depending on your system size and electricity usage, you might even produce more power than you use, allowing for energy credits through net metering.
One of the most common questions homeowners have is: When will I break even? According to HomeAdvisor, most solar systems recover their post-tax credit cost within six to 10 years. After that, all the energy your system produces is essentially free, making solar a long-term investment that pays dividends for decades.
While regular maintenance is minimal, it’s a good idea to have your system inspected every few years to ensure optimal output. Occasional panel cleaning, especially in dusty or pollen-heavy areas, can also help maintain efficiency.
The inverter may need replacement once or twice over the lifespan of your panels, but most warranties account for this as well. If your system includes a battery, be sure to follow the manufacturer’s maintenance recommendations to extend its life.
In total, solar panel installation offers more than just lower energy bills. It provides energy independence, reduces your home’s carbon footprint, and increases property value—all with little ongoing effort on your part.
Scheduling a solar panel installation is a smart move toward sustainable living and long-term financial savings. While the process involves several important steps—consultation, permitting, installation, inspection, and activation—working with a trusted installer can make the journey smooth and stress-free.
From the moment you first express interest to the day your panels begin producing power, each phase is designed to ensure safety, efficiency, and performance. Whether your motivation is cutting costs, reducing your environmental impact, or gaining energy independence, the benefits of solar are clear—and within reach.
As with any home improvement project, knowledge is power. Now that you know what to expect, you’re well-equipped to take the next step toward a brighter, cleaner future powered by the sun. Ready to make the switch to solar? Contact Banner Power Solutions today to schedule your consultation and take the first step toward a more energy-efficient, cost-saving future for your home.


Share On: